Materials and details
Mitred tile edges or trims: which finish suits your bathroom?
How mitred corners, colour matched resin and tile trims change the finish around niches, bath surrounds and exposed edges.
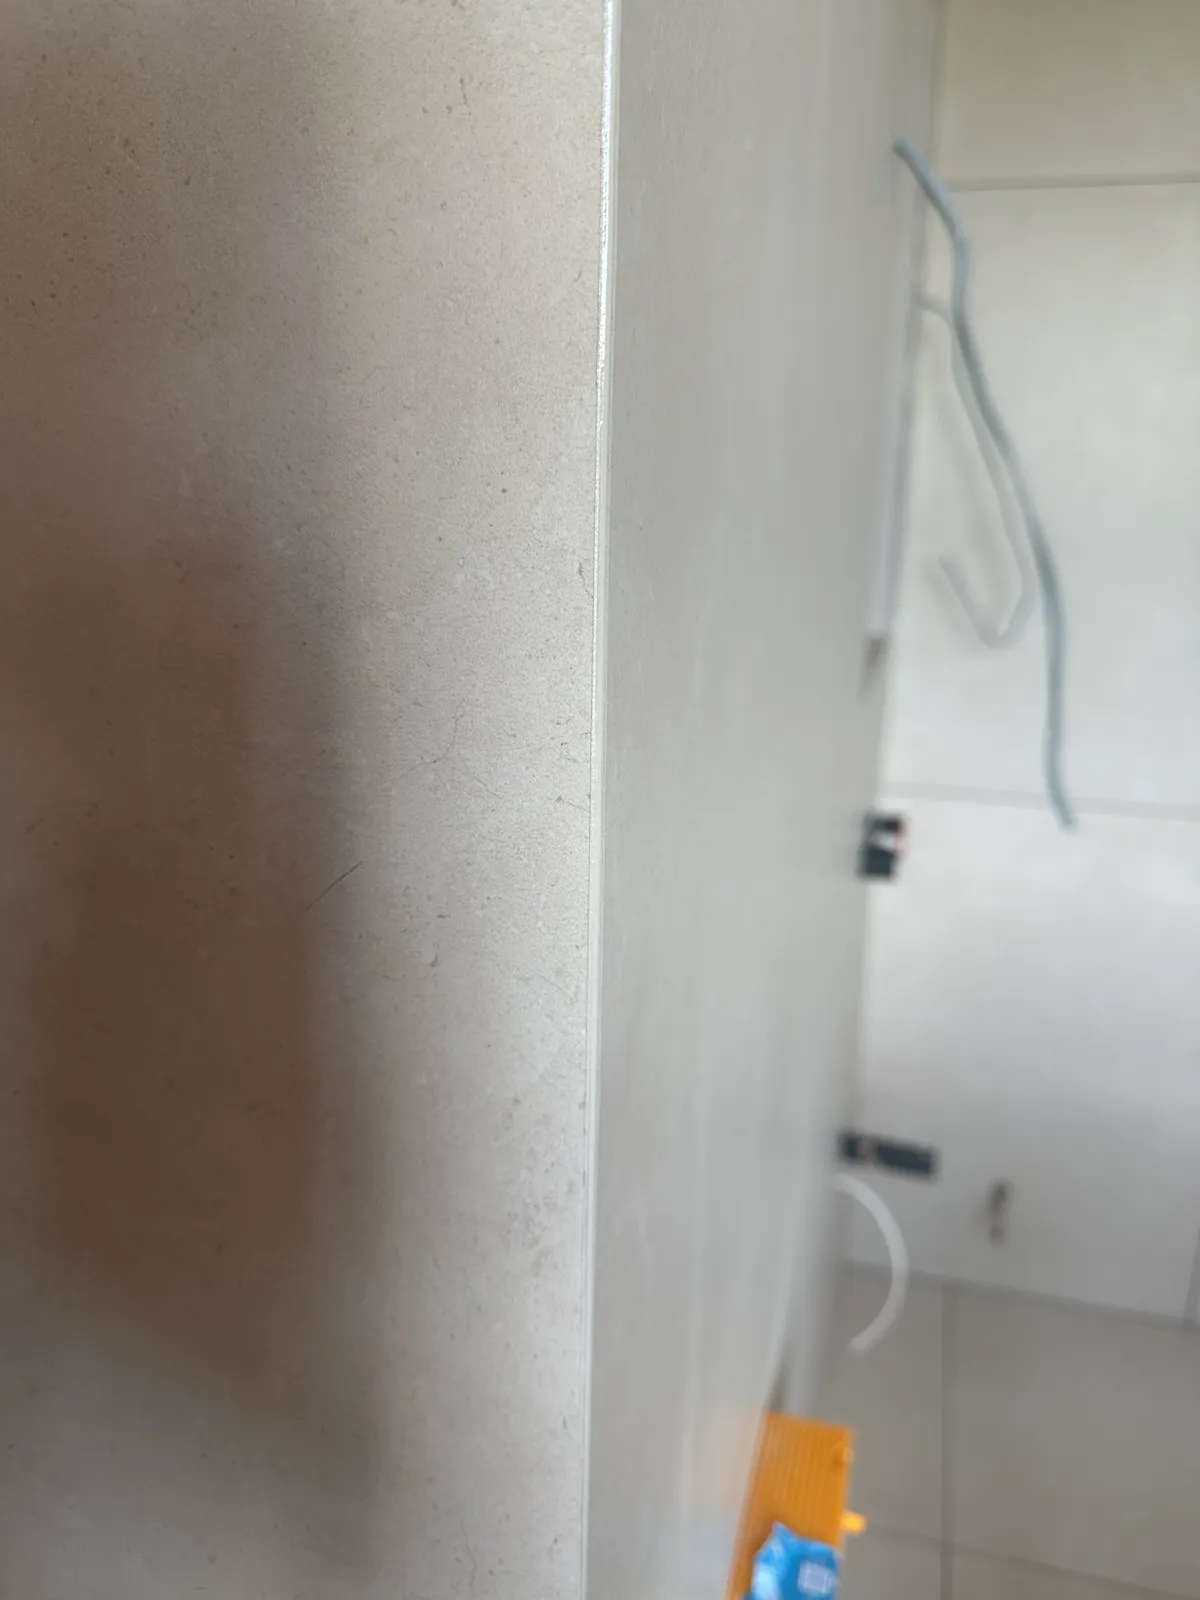
A mitred corner brings two cut tile edges together. A trim adds a separate profile to finish and protect the exposed edge. Both can look carefully considered; the right choice depends on the tile, the position of the corner and the appearance you want.
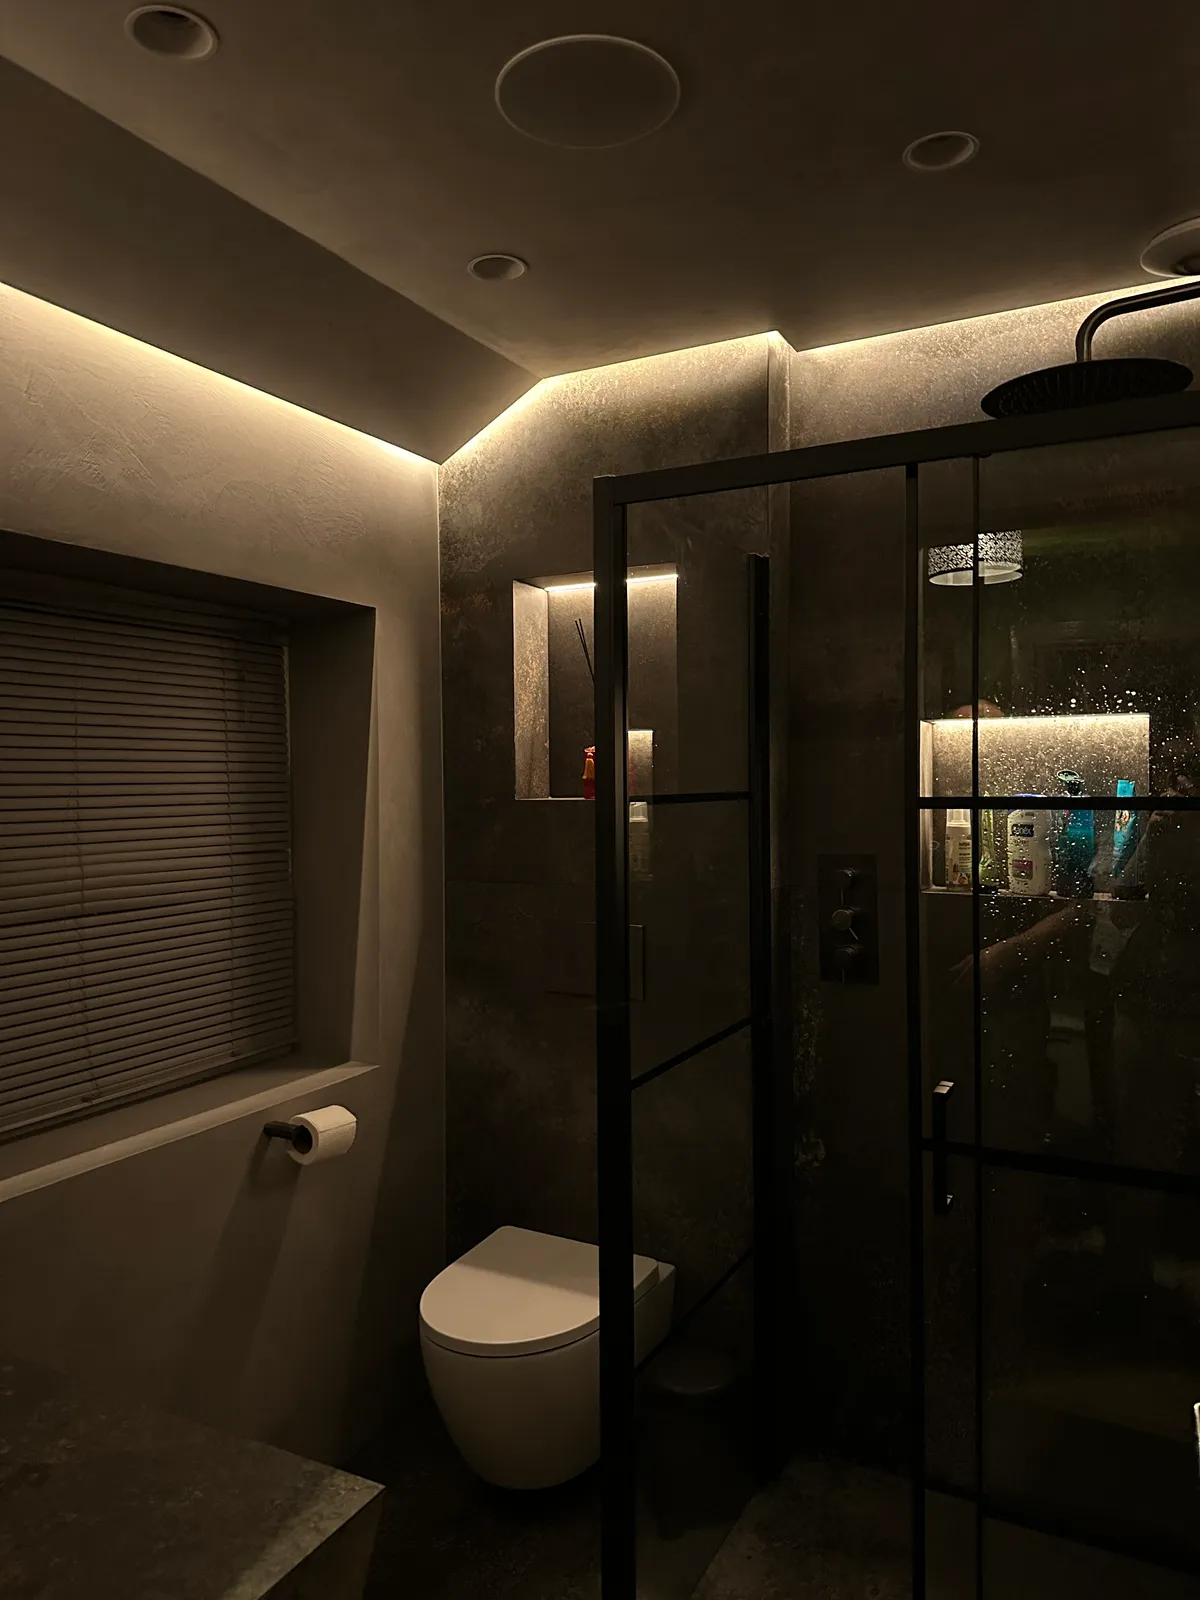
This is worth discussing when choosing the tiles. A niche, window reveal or bath surround can contain several visible edges, and each one becomes part of the overall layout.
What does a mitred tile edge look like?
The adjoining edges are cut at an angle so the tile faces meet around an external corner. The intention is to carry the material around the detail with a discreet junction.
Where suitable, a colour matched resin finish can be considered at that junction. The colour, shape and final appearance still need agreeing with the material in front of you. Matching a single tone is a different visual decision from working with a tile that has strong veins or several colours.
A mitred finish needs careful cutting and finishing. It is not a promise that the corner will be invisible, or that every tile can achieve the same result.
What does a trim add?
A tile trim introduces a defined line at the edge. It might sit quietly alongside the tile colour or relate to another finish in the room, such as the taps or shower screen.
Schlüter’s JOLLY profiles are designed for finishing and protecting external tile edges. Its FINEC range offers a particularly slim visible edge. They illustrate why “using a trim” covers more than one appearance: profile shape, material, depth and finish all change the result.
The profile must suit the tile and application. Choosing it from a photograph alone can overlook the depth or finish needed for the actual installation.
Which corners are worth discussing?
Start with the edges you will see or touch regularly:
- The front of a shower niche and any shelves within it.
- An exposed end of a tiled wall or partition.
- Window reveals and returns.
- Bath surrounds or boxed sections that continue around a corner.
Mark these on a drawing or photograph. That gives the installer something specific to price and allows the layout to be considered before the pieces are cut.
Is one option always better?
No. A suitable trim can provide a deliberate finishing detail and protect an edge. A mitred finish may be preferred where the intention is to let the tile continue around a corner with less visible interruption.
Discuss the tile’s suitability, the location and exposure of the edge, and the amount of finishing involved. Ask to see an appropriate sample or example if the appearance is central to the design. A choice that works around one feature is not automatically the best answer for every junction in the bathroom.
What should the quotation describe?
Identify the corners involved and say whether the finish is agreed or still under consideration. Ask for the treatment of those edges to be clear in the scope, including any specified profiles or resin finishing.
At ONYX, we discuss mitred edges and colour matched resin as part of our specialist tiling service. Send the tile details and a photograph or drawing of the corner you have in mind. If you are still working through the wider room, our guide to what to include in a tiling enquiry is a useful starting point.
Further reading
For product specific requirements, follow the current guidance from the tile, stone and installation system manufacturers.
Planning something similar in Yorkshire?
Explore our specialist tiling service →